

Even in today’s digital age, posters are still a popular way to advertise and market an event, product or service. Some of the benefits of creating a poster include cost-effectiveness, ease and – most importantly – they work!
Do you know how to create a poster? Fortunately, there are lots of software options that you can use to create a beautiful eye-catching poster. It all depends on your budget, but most programs are relatively easy to use.
When it comes to creating a poster, the possibilities are endless! Start small, play around with different elements and most importantly – have fun. Let’s explore seven steps to creating a poster, which will cover everything you’ll need to know to get you started:
1. Brainstorm Ideas and Create a Concept
 What are you promoting? Who is your target audience? These are just two things to consider when brainstorming ideas for your poster. You’ll also want to consider your company’s brand standards. They may have specific standards already determined for posters (logo placement, colours, fonts, etc.). Make sure you have a copy of these handy before you get too deep into the planning process.
Once you have some ideas, create a concept. A concept is an initial mock-up of what you’d like to see on your poster. You’ll use the design program that you’re using to create this.
2. Find a Style
 Next up, find a style for your poster. Finding a style will help give your poster a direction and narrow down the creative options (because there are so many options, it can feel overwhelming!). Once you have your style nailed down, it’s easier to find photos, fonts, determine colours and so on.
3. Consider Size
 If you want to create a poster, deciding on the right size is important. There are lots of options when creating a poster and size is no different. Here is a breakdown of the different size options and what they are used for to help you determine what size you’ll need:
- Poster Flyer (8.5 in x 11 in): One of the most common size options, a poster flyer is a small poster, commonly used when posting flyers both outdoors and indoors.
- Small Poster (11 in x 17 in): Another common size option, a small poster provides a bit more space for your artwork and shows itself a bit more prominently.
- Medium Poster (18 in x 24 in, or 19 in x 27 in): A bit larger than a small poster and is typically used for indoor marketing purposes.
- Large Poster (24 in x 36 in, or 27 in x 39 in): Large-format posters are common for outdoor use.
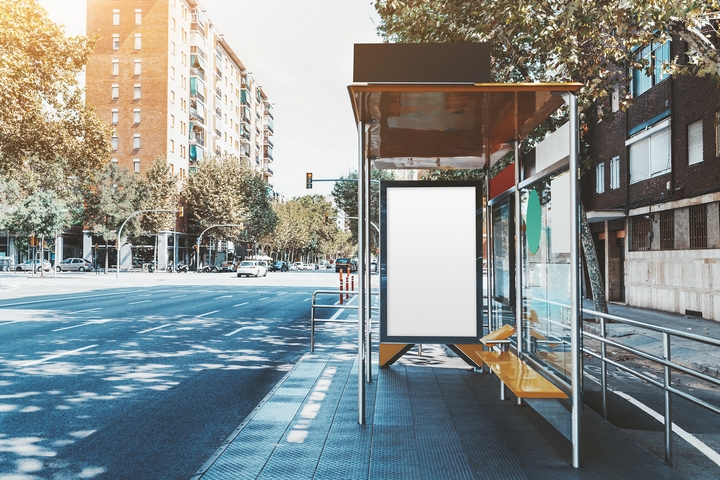
- One-Sheet (27 in by 40 in): This is the size of a movie poster, commonly used in bus shelters, train or metro stations, theatres and more.
4. Make it Readable from a Distance
 Key information needs to be readable from a distance as not everyone who sees your poster will be up-close. Here is a breakdown of the type of content you should include on your poster:
- Headline: Choose the most attention-grabbing text for your headline. Make sure this main text is the largest on the poster.
- Details: Next up, include the main details, and remember to keep it short. Let’s say you’re creating a poster for an event. Some details to include are what your event is about, when it will be held and where it will be held.
5. Create a Call to Action
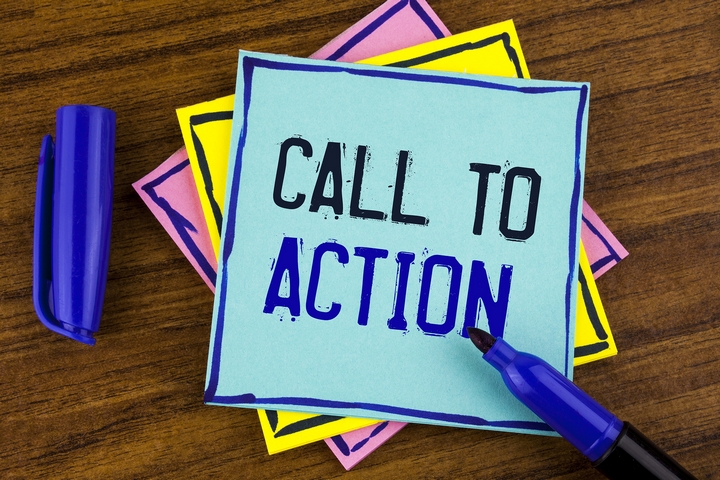 The call to action (CTA) is so important that it has a step all to itself! A call to action is the reason why you’ve created the poster is the first place – it’s the action you want people to take. What do you want to accomplish here? Encourage people to buy tickets? Register by a certain date? Take part in a contest?
Whatever your call to action is, include details on your poster (URL or place where they can buy tickets, registration link, how to enter the contest, etc.).
6. Play with Typography
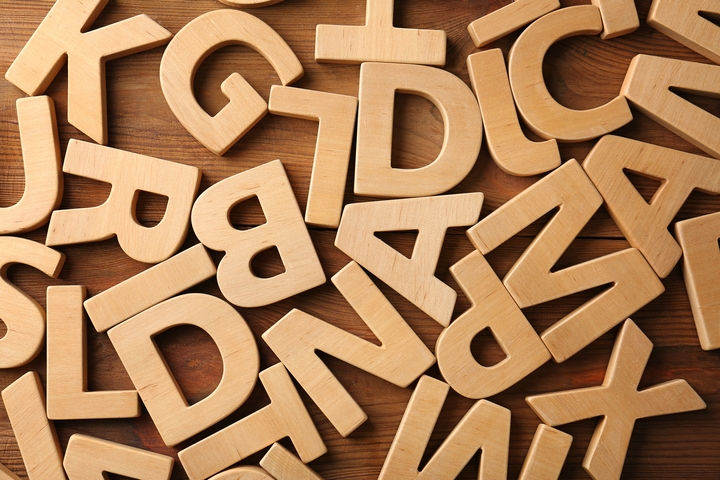 Typography is what gives personality to your poster design, so it’s encouraged that you play around with different fonts, sizes, colours and so on. Remember these principals while you’re creating: do not use too many font types, use a typeface that represents the style of the poster, center the text on your poster or position it in the top-left corner, and ensure your header takes up about 25% of your poster.
7. Print
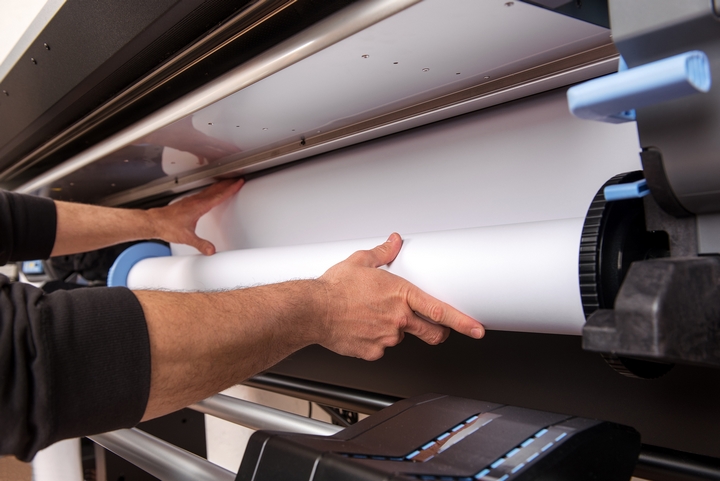 The final step is to print your poster. Depending on the size of the poster you’ve chosen, this will be how big your poster comes out. To do your design justice, make sure to print your poster with high-quality flexographic printing materials and equipment. This will ensure the paper quality is just right and that your font colours come out how you envisioned them.
There are also many different types of printing techniques including screen printing, letterpress, foiling, etc. Talk to your local printer to see what options they have and what they recommend for your poster.


