

Dating as far as 1986, 3D printing, or additive manufacturing, as some may call it, was first invented by Chuck Hull, who was then an engineer and physicist. Contrary to the traditional 2D ink on paper printing, or subtractive manufacturing processes, which remove excess materials to produce the desired product, 3D printing creates 3-dimensional objects using machines that deposit one layer of material onto another layer, one at a time.
If you’re in the manufacturing business, you should consider investing in 3D printing technology. Here is a guide on how does 3D printing work:
1. Creation of a 3D Blueprint
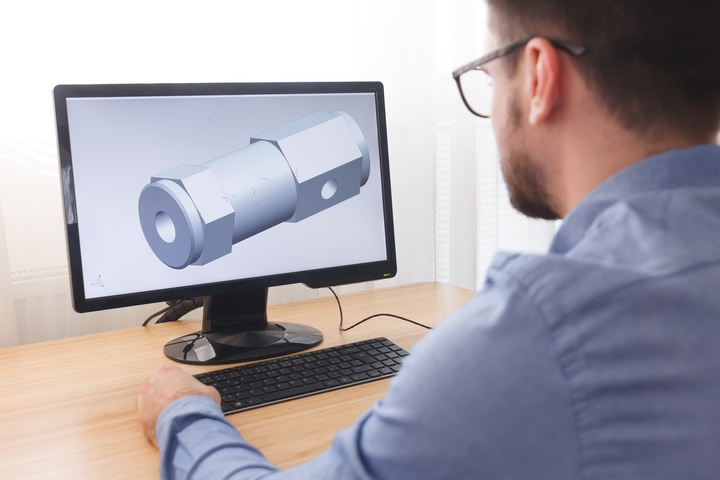 The first step in 3D printing is coming up with a design for your product. Whether you’re a gamer or animation enthusiast seeking to develop cartoon characters and robots, a scientist who wants to display prosthetic limbs, or a company wishing to produce musical instruments, feel free to let your imagination run wild and conjure up different concepts and shapes for your product.
Once you have the idea and imagery for your product, make use of computer-aided designs (CAD) to formulate the blueprint. In case you can’t afford the license for industrial-grade modelling software tools, just download the model from a repository, or go for open-source software, which is free, e.g., Tinkercad.
2. Conversion of 3D Digital Model to a G-code
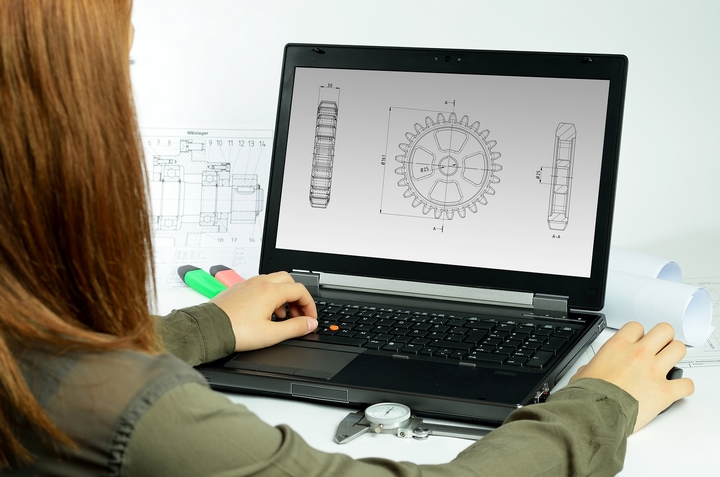 It’s one thing to have a 3D blueprint for your product design, and another to package this information in a way that it instructs the computer what to print, and what not to print. This is where computer coding comes in. You need to convert the file (be it in 3MF, STL, PLY, OBJ, or another format) into a computer language that uses numbers to control the printing process, otherwise known as a G-code.
The G-code helps in the fabrication process. In its absence, the computer won’t know where to place the layers. Slic3r is one of the recommended programs for the conversion of 3D blueprint designs to G-code.
3. Preparation of the Printer
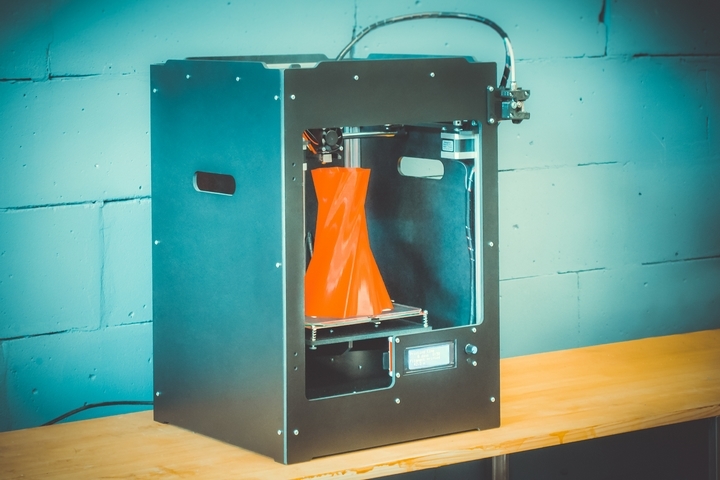 How 3D printing works is actually pretty easy. Ensure there are enough raw materials in the printer. You would think that a 3D printer uses ink or solid powder, right? On the contrary, it uses plastic, and not just any plastic, but thermoplastics, melt when heated and solidify under low temperatures. Acrylonitrile butadiene styrene (ABS) is the most commonly used thermoplastic.
It’s preferred for its ability to melt at about 100 degrees Celsius and solidify at room temperatures. Besides, its aesthetic qualities allow you to give it any colour you want. Other raw materials include metal powders and binding solutions. You may also need to make sure the building platform is set by cleaning it or by applying some adhesives to avert chances of movement during the printing process.
4. Material Extrusion
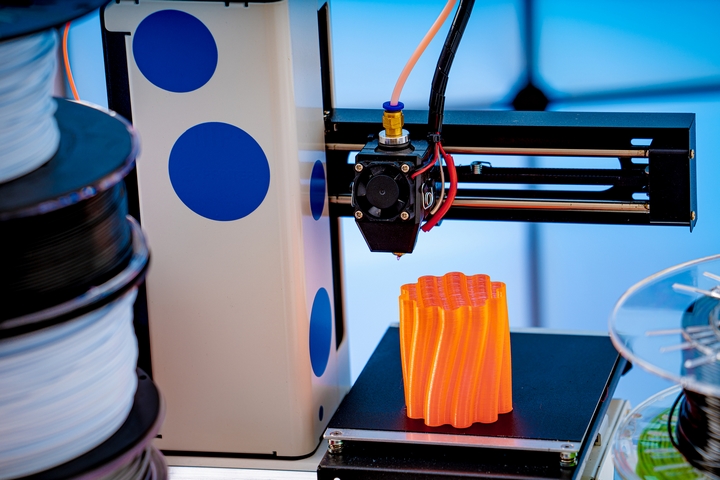
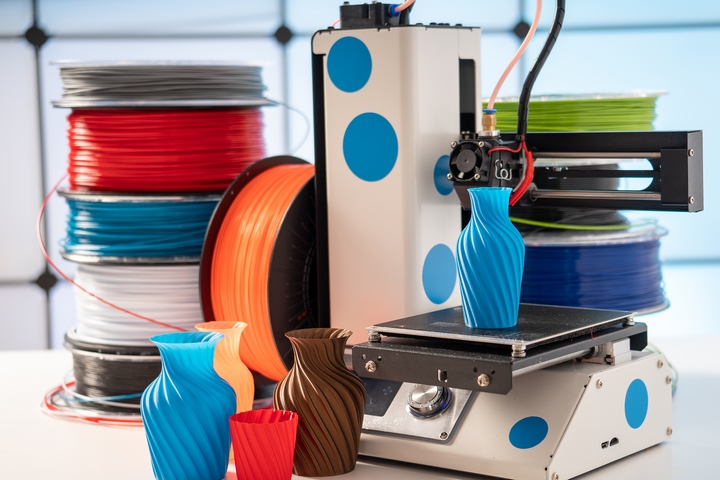 After coming up with a 3D CAD model, converting it to a G-code, and preparing the printer, you can now begin the actual printing process. The thermoplastic printing material is heated until it is in liquid form. It’s then put in an extruder, which, in turn, deposits the molten material onto the specified area through the print nozzle. Based on information passed to the printer through the G-code, the 3D design is divided into two-dimensional cross-sections while. The nozzle places the liquid material in thin layers, which are approximately 0.1 mm thick.
As soon as the plastic solidifies and sticks onto the layer below, the printer head quickly adds another layer before the building platform lowers. Usually, the plastic melts rapidly; hence, providing a solid surface for the next layer to be deposited on. Note that variables such as the maximum temperature of the printer’s nozzle end may significantly influence the type of printing materials used.
Furthermore, the size and nature of the project will determine if you take minutes, hours or days to complete the product. One of the processes you may encounter at this point in 3D printing is fused depositional modelling, which adds layers from the bottom up.
5. Stereolithography (SLA)
 This is one of the earliest 3D printing techniques. Unlike material exclusion, this process employs laser or DLP projectors that come with photosensitive resin. As objects are printed in a layer of resin, another light source, say a projector, slowly hardens the resin, layer after layer forming the object. SLA machines are considered far more accurate than other 3D printing technologies.
6. Post-processing
 This is the final step in 3D printing. Basically, it involves carefully removing the manufactured object from the building platform, getting rid of support structures present, if any, and lightly brushing off extra powders.
Going by the number of industries that have adopted 3D printing technology, such as architecture, entertainment, medicine, paleontology, archaeology, and even criminology, one thing is clear, 3D printing has changed the game and revolutionized how products are manufactured. It’s also cost-effective besides the fact that it saves time and energy.


